Sod Installation Winnipeg: Professional Process, Cost & Mistakes
- Professional sod installation in Winnipeg includes soil preparation, grading, and establishment support, not just rolling out sod on whatever ground is there
- The most expensive sod installation mistake is skipping or skimping on soil preparation: sod laid directly on compacted Winnipeg clay without proper base amendment fails within one to two seasons
- Fall installation (August through mid-September) gives sod the best establishment conditions in Winnipeg’s climate: soil is warm, temperatures moderate, and irrigation demands are lower
- A professional installation typically runs $2.50 to $4.50 per square foot all-in, depending on site conditions and scope
- DIY sod installation is feasible for motivated homeowners on small to medium areas with good soil conditions; the labour and time investment is substantial
What Sod Installation in Winnipeg Actually Involves
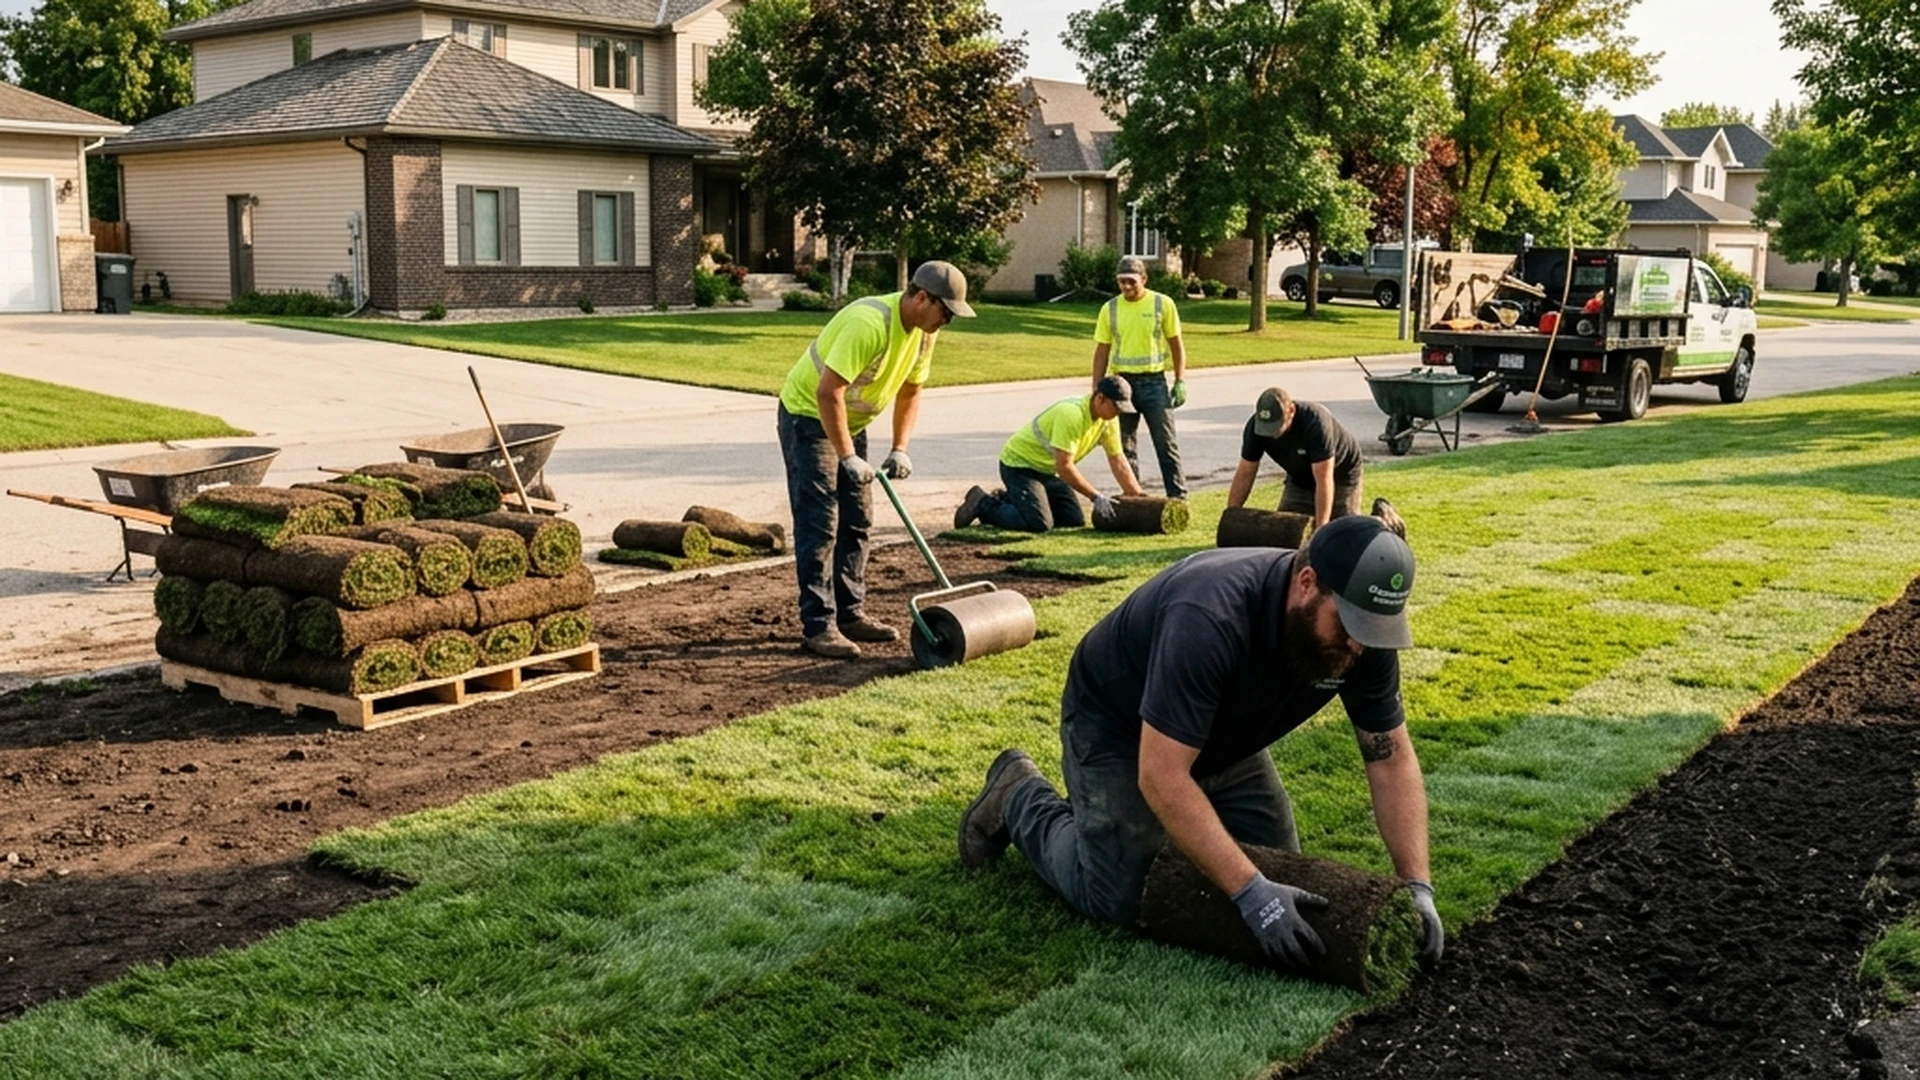
Most homeowners who call for sod installation are thinking about the sod itself: the rolls of grass that get laid out and watered in. The sod is the last step of a multi-step process. The steps that determine whether it establishes successfully are the ones that happen before the first roll is ever laid down.
Lawn ‘N’ Order has been installing sod across Winnipeg since 1993. In that time, the installations that fail almost always fail for the same reason: inadequate soil preparation. The sod looked good for one season and declined in year two or three as the root system hit the compaction and drainage barrier of unprepared clay below. The sod was fine. The preparation was not.
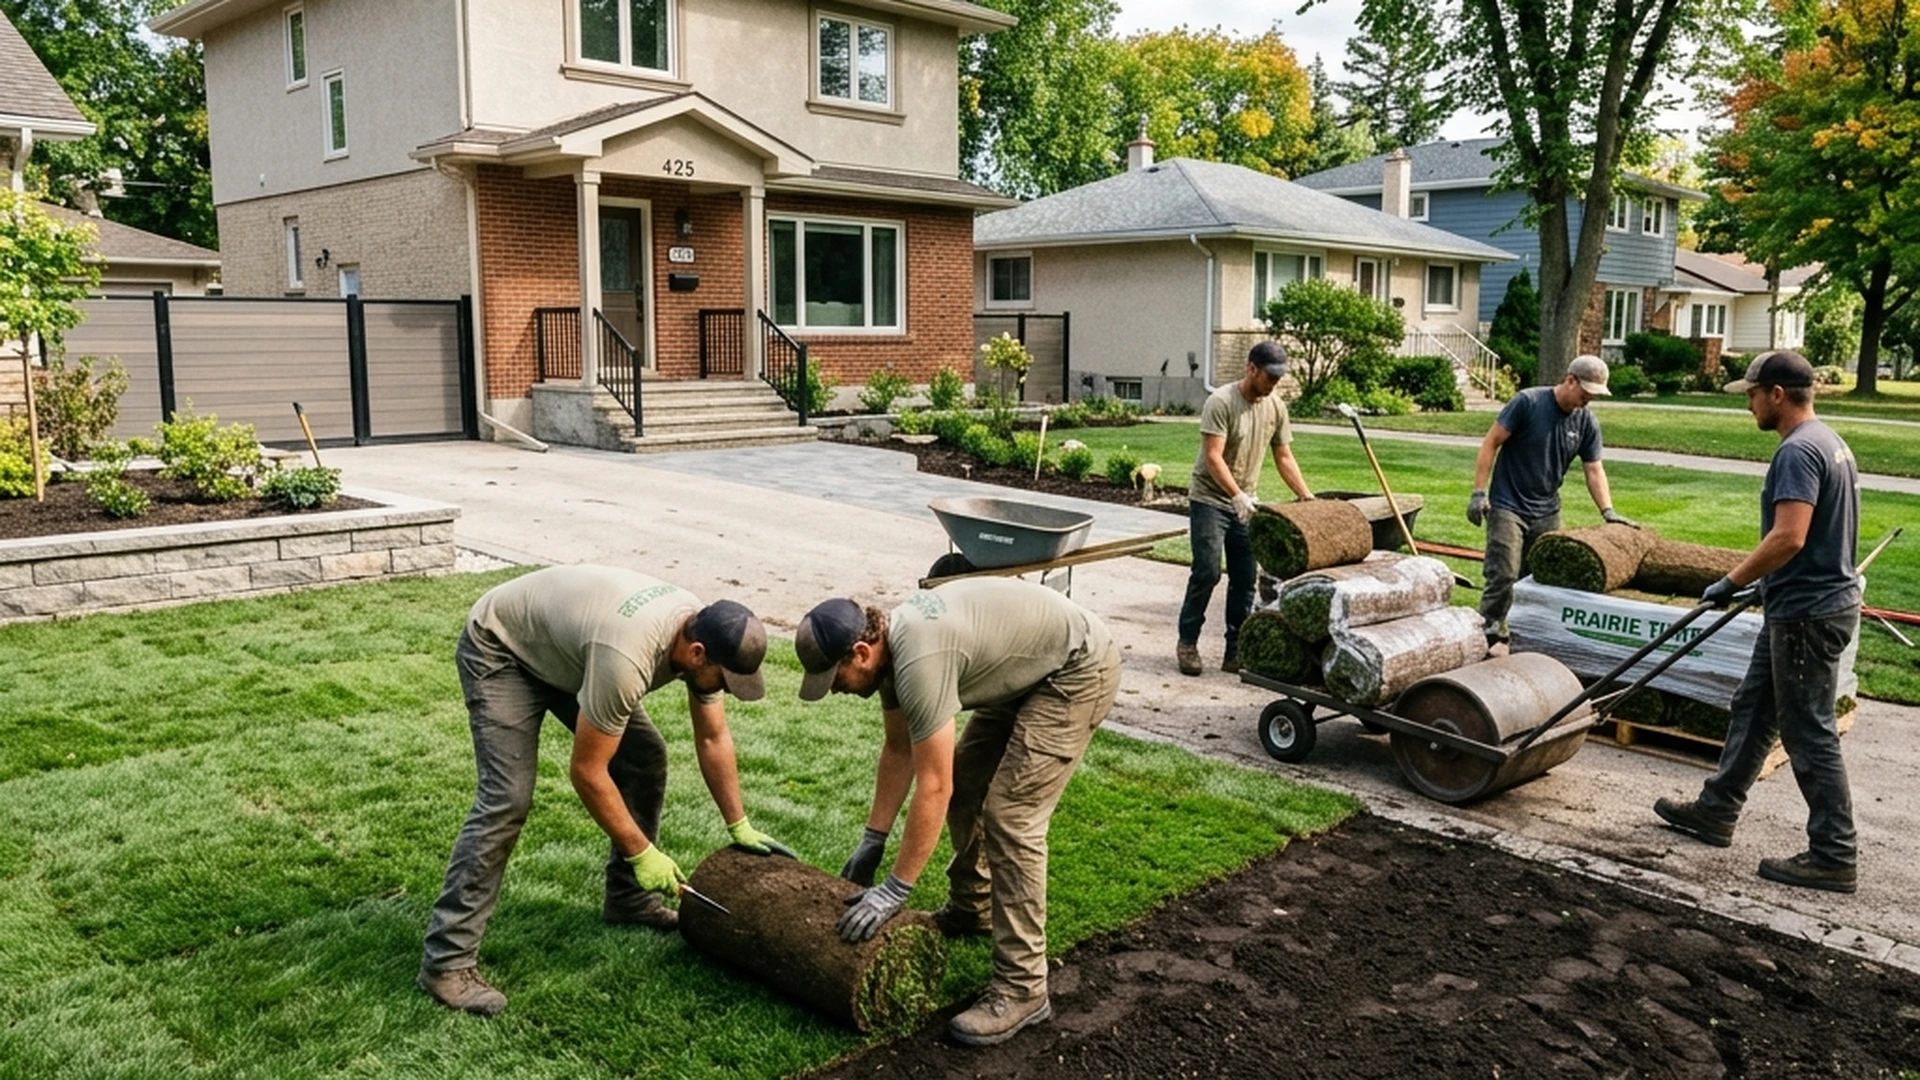
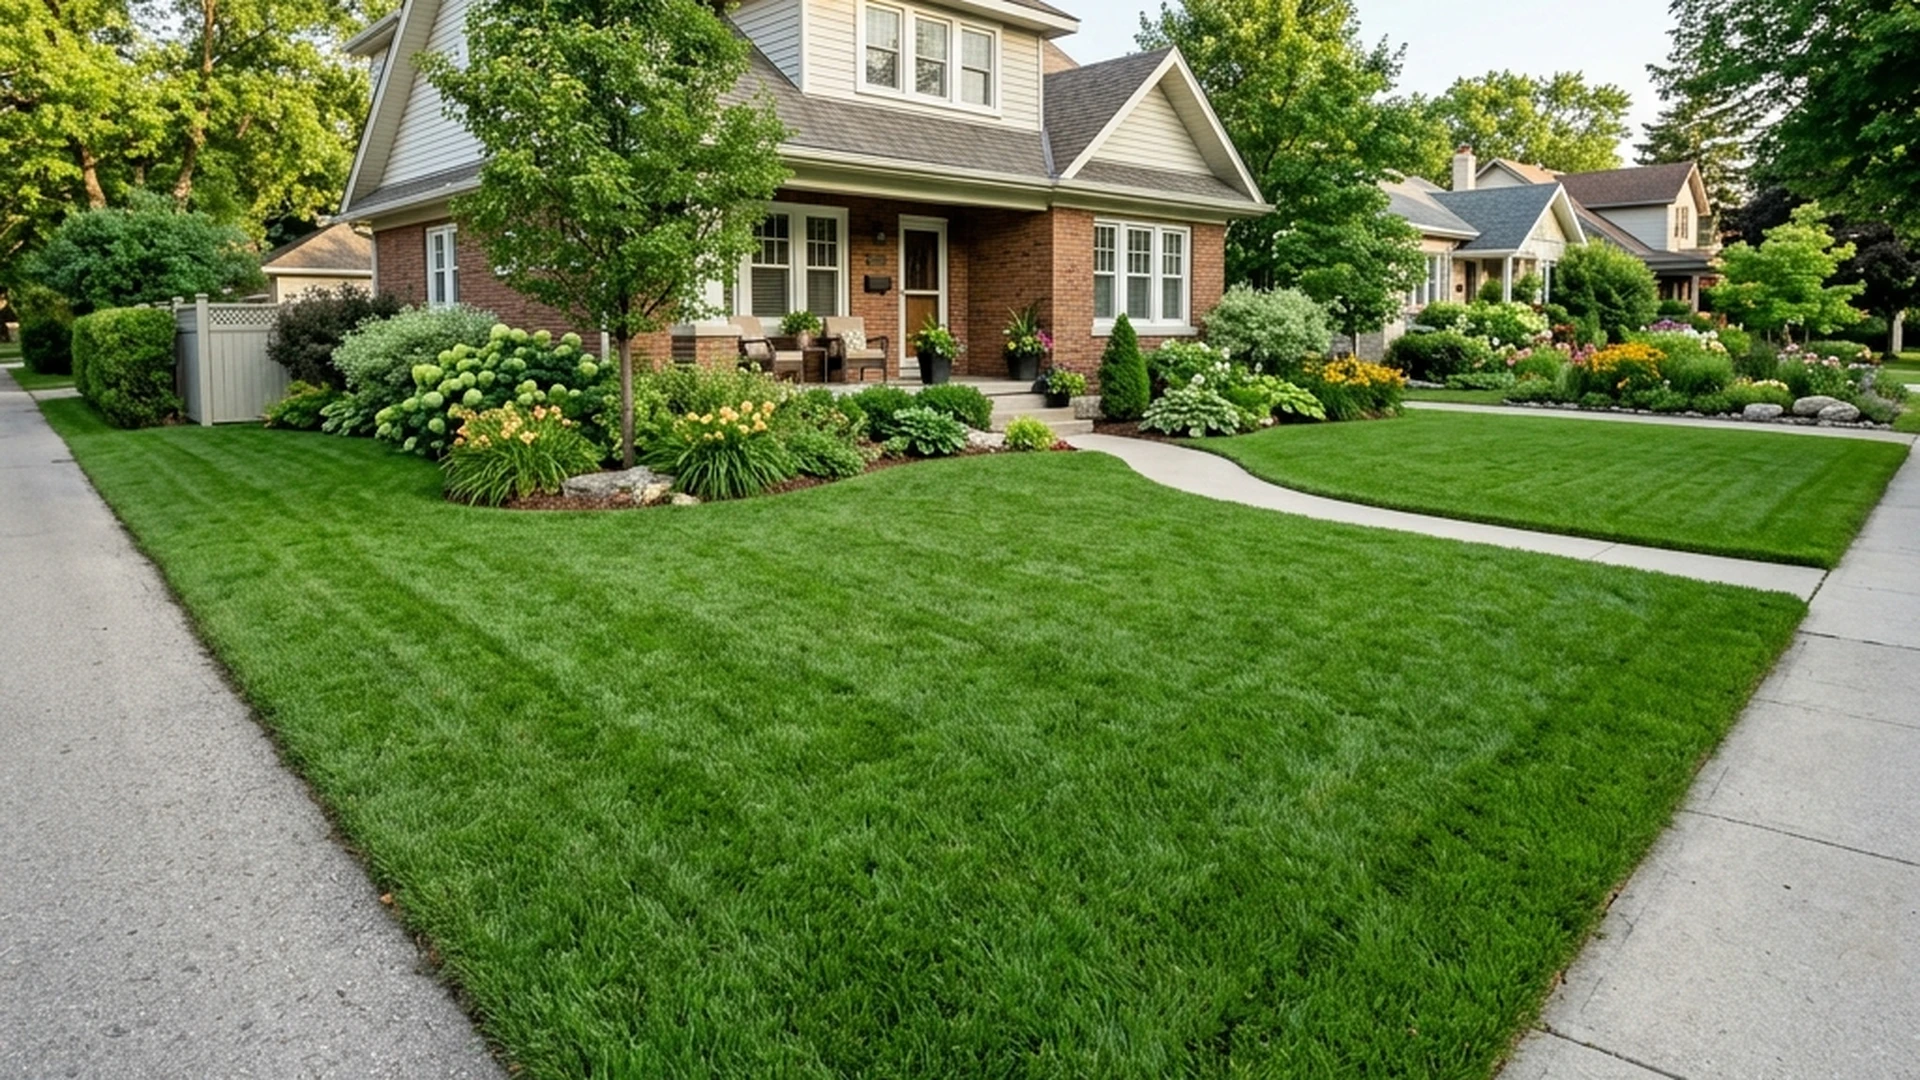
A professional sod installation at Lawn ‘N’ Order includes site assessment, debris removal, soil preparation to the appropriate depth, grading for drainage, sod laying with tight joints, and post-installation establishment guidance. What the homeowner receives is a lawn, not just a delivery of sod rolls.
The Soil Preparation Requirement
Winnipeg’s Red River clay is the central challenge for sod installation here. Clay soil does not accept roots readily, does not drain freely, and compacts under foot traffic and the weight of heavy sod rolls. Sod laid on unprepared clay has its roots in contact with a material that holds water in wet periods and becomes nearly impermeable when dry.
Scalp and remove existing vegetation. Old lawn, weeds, and organic debris are removed or killed and scraped off before soil work begins. Laying sod over existing vegetation creates a decomposing layer that disrupts root establishment.
Import and spread a soil layer. A minimum 3 to 4 inches of quality amended soil is spread over the prepared subgrade. For Winnipeg clay conditions, this is typically a blend of screened topsoil and compost, or a 4-way mix, that provides drainage, aeration, and fertility the native clay does not offer. See the Ditchfield sod installation soil guide and the Compost vs Topsoil vs 4-Way Mix guide for the specific products appropriate for this layer.
Grade for drainage. The finished soil surface must slope away from the house at a minimum 2% grade and away from any structures. Poor grading at this stage creates drainage problems that the sod will mask initially and expose as the root system matures.
Firm and rake the surface. The soil is firmed to eliminate large voids that would create uneven settling under the sod, and raked to a consistent fine finish. Loose, fluffy soil produces sod that settles unevenly in the first season.
Professional Installation: What the Process Looks Like
Site Assessment
Before any work begins, the site is assessed for drainage patterns, existing grade, soil conditions, and any obstacles: irrigation lines, buried cables, downspout discharge points, and tree roots that affect how soil preparation can proceed. A site that looks straightforward from the street often has drainage or grade conditions that need to be understood before the work starts.
Equipment and Labour
Professional sod installation uses a combination of equipment and hand work depending on the site. Sod cutters for removing existing lawn. Mini excavators or skid steer for larger soil regrading. Rototillers for soil incorporation. Sod rollers for post-installation establishment. The right equipment for the specific site conditions is part of what a professional installation provides that a DIY project struggles to replicate on a meaningful scale.
Laying the Sod
Sod is laid in a staggered brick-pattern, with joints offset between rows and seams pushed tightly together. No gaps between rolls; gaps dry out and die. On slopes, sod is laid perpendicular to the slope with stakes on steeper grades to prevent rolls from slipping before roots establish. The first row is laid along a straight reference line and all subsequent rows align from it.
Post-Installation Establishment Support
A professional installation includes guidance for the establishment period. Sod needs consistent moisture in the first two to four weeks while roots knit into the prepared soil layer. Too little water and the sod desiccates; too much and the soil layer stays waterlogged and roots cannot penetrate. The first mowing, traffic restrictions, and fertilization timing are all part of the establishment protocol that experienced installers communicate clearly.

Hire vs DIY: How to Decide
DIY sod installation is genuinely feasible for motivated homeowners under the right conditions. The question is whether your specific situation matches those conditions.
When DIY Makes Sense
- Small to medium area, typically under 200 square metres, where hand tools and rented equipment are practical
- Soil conditions that are already in reasonable shape, or where the homeowner is prepared to do the soil preparation work themselves
- Flat or gently sloping site without significant drainage complications
- The homeowner has time: sod installation is a full-day project minimum, and prep work often adds another day or half-day
When Professional Installation Is Worth It
- Large areas where the labour and equipment cost of DIY approaches professional quotes
- Sites with drainage problems, significant grade changes, or challenging access requiring equipment beyond what a homeowner would rent
- When soil preparation is needed at depth: importing, spreading, and grading several inches of soil over a large area is physically demanding and equipment-intensive
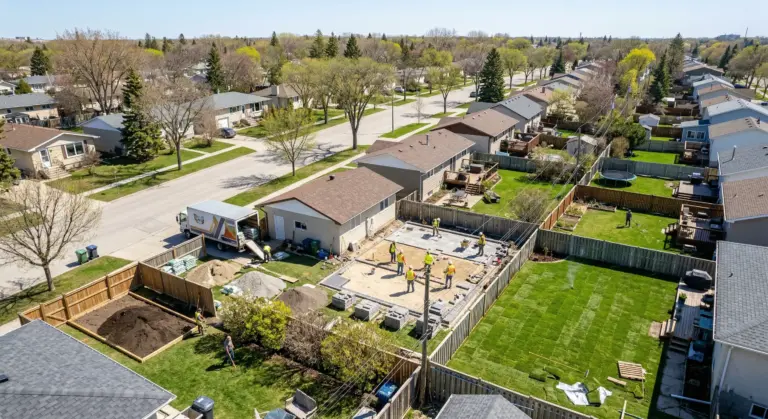
- New construction sites where the soil has been disturbed and needs significant preparation
- When timing is critical: a professional crew installs a full residential lawn in one day
The Most Common Sod Installation Mistakes in Winnipeg
Laying Sod on Clay Without Amendment
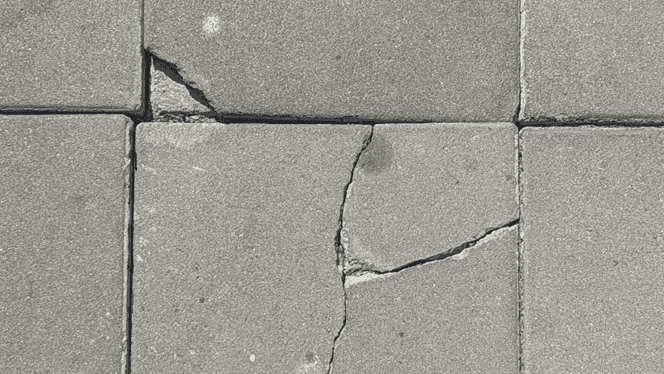
This is the mistake that produces the most calls for replacement and remediation. The sod looks healthy for one season because it is still living off the nutrients and moisture it arrived with. In year two, when those resources are depleted and the roots have hit the clay layer below, the lawn begins to decline. Thin areas, poor drainage response, and uneven colouring are the symptoms.
Not Grading for Drainage Before Installation
Sod installation is the last chance to correct drainage problems at grade level. Once sod is established, regrading requires removing the sod, correcting the grade, and reinstalling. This costs significantly more than doing it correctly before the first installation. Any property with drainage concerns, water running toward the foundation, or areas that pond after rain, needs those conditions addressed before sod goes down. See our drainage solutions guide.
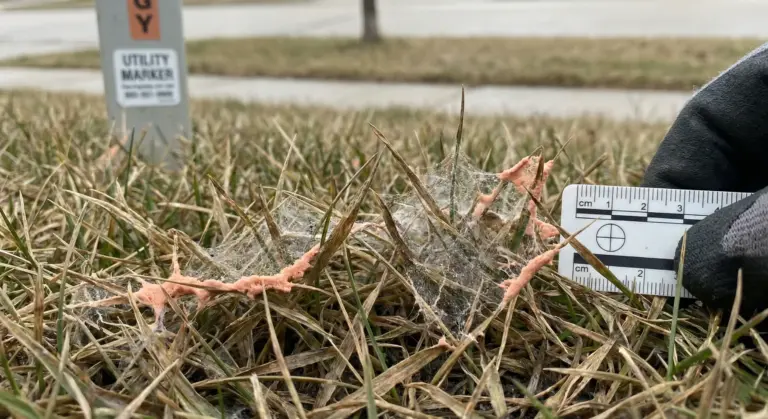
Insufficient Watering During Establishment
Sod needs water every day for the first two weeks in warm weather, and every other day in cooler conditions. Most homeowners underestimate this requirement. The first sign of establishment failure is the sod lifting at the edges and corners and the surface turning straw-coloured. At that point, recovery requires intensive intervention. Setting up irrigation before the sod arrives is strongly recommended.
Installing Too Late in Fall
Sod needs 4 to 6 weeks of above-freezing temperatures to knit to the soil layer below. In Winnipeg, installing after mid-September risks sod going into winter without adequate root establishment. The sod may look fine going into freeze-up but pull away from the ground in spring. The optimal Winnipeg window is late July through mid-September.
Cost of Professional Sod Installation in Winnipeg
| Component | Typical Range |
|---|---|
| Sod removal (if existing lawn present) | $0.30 to $0.60 per sq ft |
| Soil preparation and grading (basic) | $0.75 to $1.50 per sq ft |
| Soil preparation and grading (complex site) | $1.50 to $3.00 per sq ft |
| Sod supply and laying | $1.50 to $2.50 per sq ft |
| Total all-in (typical residential, basic prep) | $2.50 to $4.00 per sq ft |
| Total all-in (complex site, significant grading) | $4.00 to $6.00+ per sq ft |
These ranges reflect current Winnipeg market pricing. Actual quotes depend on site conditions, access, and the scope of soil preparation required. A 500 sq ft front lawn replacement with basic preparation typically runs $1,500 to $2,500. A full yard on a property with drainage challenges and significant soil work can run $6,000 to $12,000 or more. Use the Lawn ‘N’ Order cost calculator to get a realistic estimate for your specific site.
FAQ: Sod Installation in Winnipeg
When is the best time to install sod in Winnipeg?
Late summer is the best window: late July through mid-September. Soil temperatures are warm, supporting rapid root establishment, but air temperatures have moderated from peak summer heat, reducing moisture stress on newly laid sod. Spring installation works but requires consistent irrigation management during unpredictable spring weather. Avoid installation after mid-September as insufficient establishment time before freeze-up creates winterkill risk.
How long before I can walk on new sod?
Light foot traffic for watering and inspection after 2 weeks. Normal family use after 4 weeks when sod is knitted and can be pulled gently without lifting. Avoid heavy equipment, concentrated foot traffic, and any activity that could shift or lift the sod during the first month.
Why is my new sod shrinking at the seams?
Seam shrinkage is caused by drying: the sod is not getting enough water. Even visible shrinkage of a quarter-inch at seams indicates under-irrigation. Increase watering frequency immediately. Seams that dry out and die create gaps that weeds exploit. Establish consistent daily irrigation through the first two weeks regardless of weather conditions.
Book a Sod Installation
Lawn ‘N’ Order handles full sod installations across Winnipeg, from soil preparation through establishment guidance. We will assess your soil conditions, drainage, and the scope of preparation your specific site requires.
Use the Free Calculator Book a Free Consultation